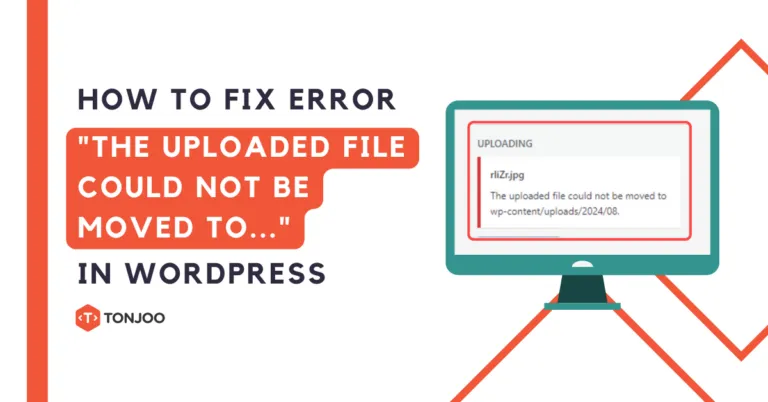
Encountering the “The uploaded file could not be moved to…” error in WordPress when uploading a file on your localhost can seriously disrupt your workflow. For instance, you might try to upload an image, only for it to fail and display a message like the one below:

So, how do you resolve this upload failure for images and other media, such as JPG, PNG, AVIF, and WebP files, that triggers the “The uploaded file could not be moved to wp-content” error?
This article explains the cause of this error on a localhost setup and provides a step-by-step solution. Read on to learn more!
The Cause of the Error
This error occurs because the user account you are currently using does not have the necessary permissions to write to the WordPress directory.
To elaborate, WordPress file systems use three primary types of permissions, often abbreviated as RWX: read, write, and execute.
When your user account lacks ‘write’ permission, you are blocked from modifying the wp-content directory in your WordPress files, which includes uploading images.
This issue can happen whether you’re using the classic WordPress editor or the modern Gutenberg block editor. When this error appears on your localhost, it can bring your development phase to a grinding halt.
The solution to fixing this image upload failure in WordPress is to correctly configure the permissions for your user account.
How to Fix “The uploaded file could not be moved to…” in WordPress
To begin fixing the “The uploaded file could not be moved to…” error, first, locate the file path to your wp-content directory:
- Right-click on the wp-content directory and select Properties.

- Open the Security tab and click Edit.

- Select the user account you want to grant ‘Write‘ permission to.
- In the permissions section, find the Write row and uncheck the Deny box.

- Click Apply.

- You’re all set!
You can now try uploading your image or media file to WordPress again.
Successfully Fixed the “The uploaded file could not be moved to…” Error on Localhost?
That’s our tutorial on how to resolve the “The uploaded file could not be moved to…” error during the development phase on a localhost. You should now be able to continue your website development process without interruption.
However, when you are ready to move from development to the production phase, we strongly advise against using XAMPP as your production server. XAMPP has numerous security vulnerabilities when used in a live production environment.
If you need professional assistance with developing your website, especially a WordPress-based one, consider partnering with the team at Tonjoo. We have extensive experience developing WordPress sites for clients like Universitas Gadjah Mada, Hipwee, and many others.
If you’re interested in collaborating, you can reach the Tonjoo team through our contact page.
Read similar articles by Moch. Nasikhun Amin on the Tonjoo blog about WordPress, WooCommerce, plugins, and other web development topics.
Updated on August 28, 2025 by Moch. Nasikhun Amin


